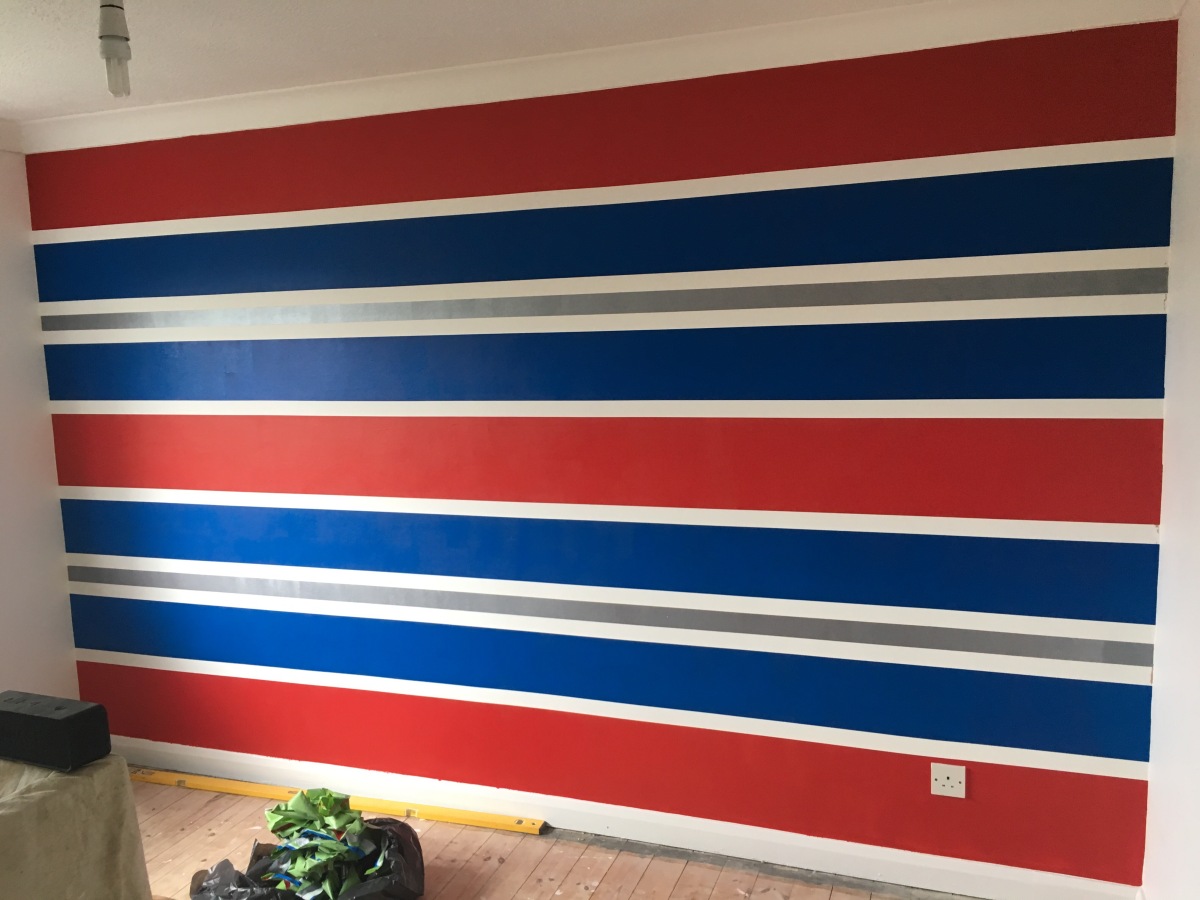
I am soooo excited for these stripes! I only painted them today but I just had to write this straight away because I love them so much!

Just look at those perfect lines!
I watched a good couple of hours of YouTube videos and read even more bling post on painting stripes to find out the best way to get really good results. What tape to use? How do I avoid colour bleeding? These were the two things I really wanted to get right. All online sources seem to remomend frog tape so that’s what I chose. I found two different ideas on how best to prevent bleeding and decided to use both of them. The first was to heat the Frog Tape up with a hair dryer, this apparently bonds the tape to the wall better. The second was to paint the edges of the tape the same colour as the stripe underneath, in this case white (I didn’t take a picture of this, I was in a rush to get the room finished before the school run!) the idea is that if paint is going to bleed it’s the same colour as the stripe it’s bleeding onto so it’s not noticeable. I don’t know if one way is better than the other or if it was a mixture of the two but these stripes are pretty close to perfect. There are the few odd very small areas where bleeding did happen but they are hardly noticeable. The worst bits were on the eggshell skirting where I didn’t use either of the above methods. These can be easily touched up.
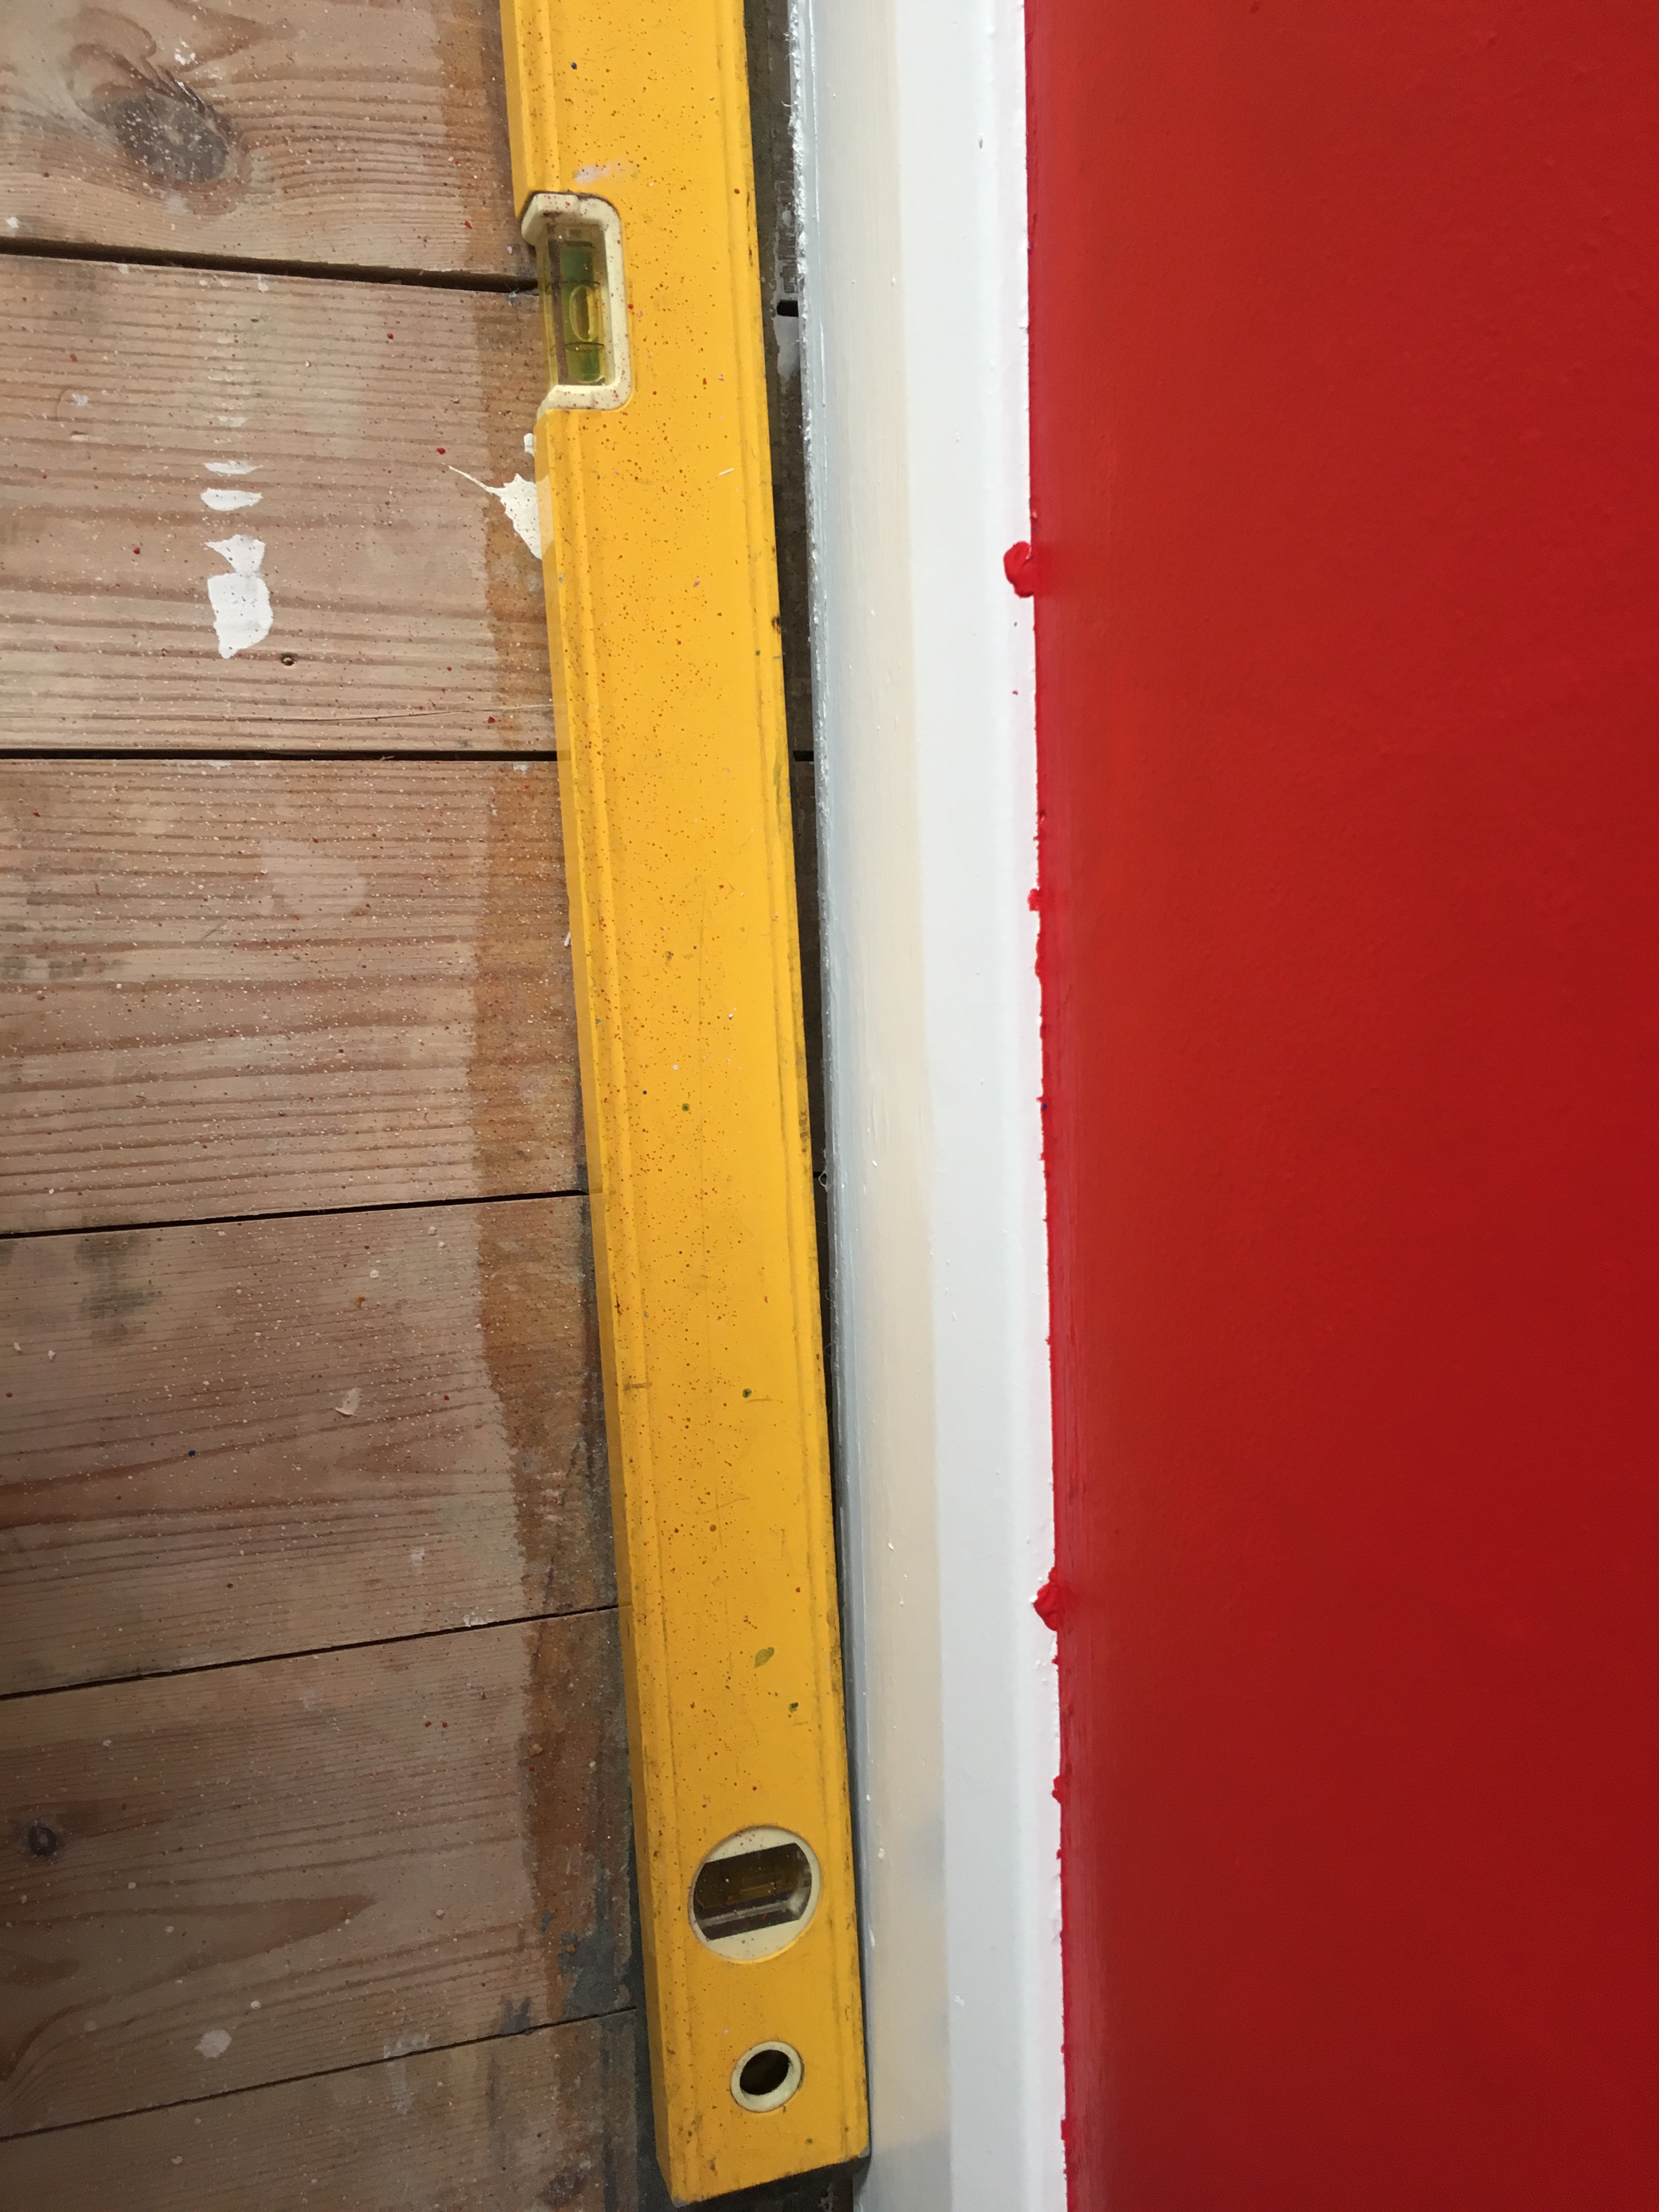
Another small problem I had was that the tape had pulled off some of the white paint in the corner where the wall had been freshly plastered. Again this can easily be touched up but it is something to thing about for next time. There are also a few paint splatters on the adjoining wall, possibly because I used a cheap roller.

The Method
First I had to decide on the width of the stripes. The wall is 2120mm high. I decided on the 48mm Frog Tape. I knew I wanted three red stripes, these would be the widest. Four blue stripes and two sliver stripes, the silver being the smallest. That meant there would be eight white stripes separating the other colours.
48mm x 8 = 384mm
As this area was set I took it away from the hight of the wall and then played around with some sums to work out the widths of the other colours.
2120 – 384 = 1736mm
I settled on 260mm for each red stripe, 200mm for blue, 60mm for silver.
260mm x 3 = 780mm total red
200mm x 4 = 800mm total blue
60mm x 2 = 120mm total silver
I had 36mm left over but just added this to the bottom red stripe. Once taped up the wall looked like the picture bellow. Notice I also taped vertically to give a straight edge on the ends.

After the first coat

I then did another coat and removed the tape as soon as I had finished with the paint still wet.
The colours used are Dulux Red Stallion 2 and Royal Regatta 2 both in standard matt, the silver is B&Q Colours Feature Wall Metalic Silver. The shine on the sliver is just beautiful, I may have to use it somewhere else in the house!
Here is the final finished look!
Ta da!

I really couldn’t be happier with the result and Little C loves it too! Now we just have to get his furniture built over the weekend and he can move out of the spare room.
I hope you like it as much as we do.

